Your kid builds a robot that draws.
PlotBot is a drawing robot you build yourselves: two arms, one pen, and a phone that tells it what to draw. For kids aged about 12 and up, building with a parent.

Drag or use the arrow keys
 Flower
 Star
 Spiral
 House
Watch it draw
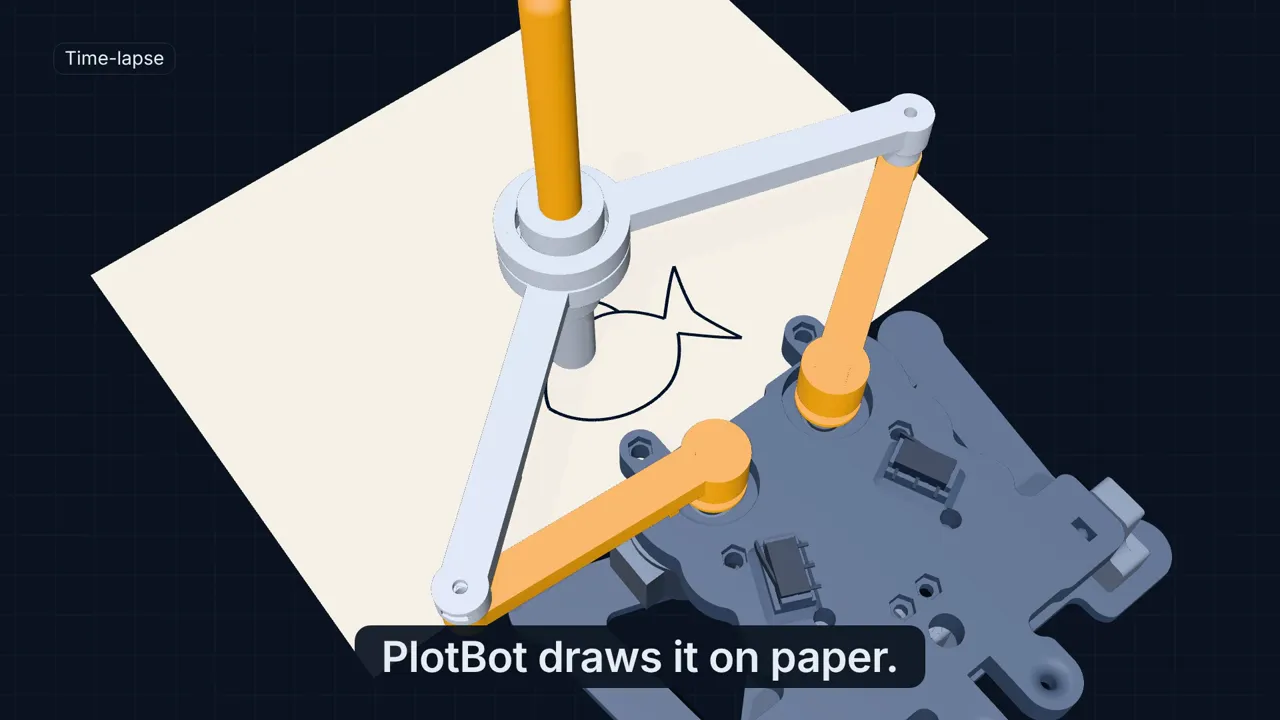
Starting the video loads it from YouTube (Google). Google then sees your IP address, among other things. More in the privacy policy. You can also watch it on YouTube itself.
Your kid builds a machine – and understands how it works
The PlotBot-Kit isn't a snap-together set with picture instructions. Your kid prints the parts, presses in bearings, wires up motors and ends up writing programs of their own. Short explainer boxes in the book cover the why behind the key steps.
- Mechanics
Arms, gears, bearings
Two motors each turn an upper arm, and the forearms meet at the pen. Kids see why a little play between the gears inside the motor makes a line wobble, and what a ball bearing is for.
- Electronics
A microcontroller and motors
A microcontroller drives two stepper motors and a servo that lifts the pen. At start-up each arm moves to a limit switch; from there the robot counts every step.
- Coding
Blockly on a phone
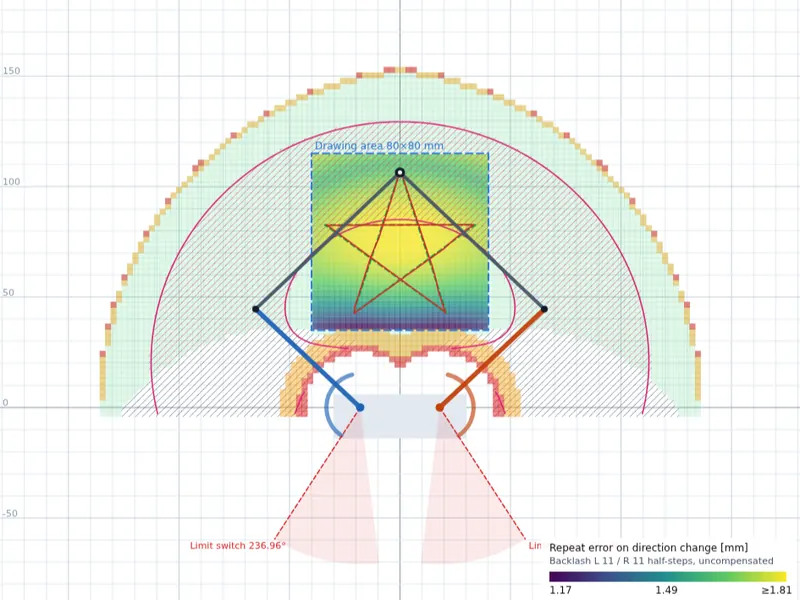
Kids snap blocks together: pen down, move 20 mm, turn 90°, repeat four times. Tap "Zeichnen lassen" and the robot draws a square.
- Geometry
Angles you can see
Why does the pen turn 144° at each of the five points of a star? Five times 144° is 720°, two full turns. On paper, the maths turns into a picture – and a maths mistake into a crooked line you can track down.
What you'll need, and what to watch out for
For the build
- A 3D printer (220 × 220 mm bed)
- The parts to buy: a microcontroller board, two motors with drivers, a servo, limit switches, ball bearings, screws and a brush pen (edding 1340). The book lists each one with its quantity.
- A 5-volt USB power supply rated at 2 A or more, plus a USB-C cable
- Tools: a 2.5 mm hex key, a small screwdriver, needle-nose pliers and a small file
- A phone – and a computer at most once, to load the firmware onto the board
- No soldering iron: the board comes with its pin headers already soldered, and every wire plugs in.
Good to know
- Age
- Kids aged about 12 and up, building with a parent
- Time
- A project for several afternoons. Printing alone takes an estimated 14 hours – the printer does the work while you do something else.
- Power
- Run PlotBot from the power supply, not from a computer: a computer's USB port can't deliver enough current. A power bank works too; the book shows how PlotBot keeps it from switching off.
- Stopping
- Pull the plug. That stops the robot safely at any time.
No app, no internet – the robot brings its own Wi-Fi
Switch PlotBot on and it starts its own Wi-Fi network, called "PlotBot-" plus four characters. Connect your phone and the control page usually opens by itself. If it doesn't, there's a sticker with two QR codes: one connects the phone to the Wi-Fi, the other opens the control page. The program that generates the sticker is part of the downloads.
A wizard on the phone walks you through setup in four steps. After that, the robot draws ready-made pictures, writes names, plays tic-tac-toe against your kid – or runs whatever your kid has built in Blockly.
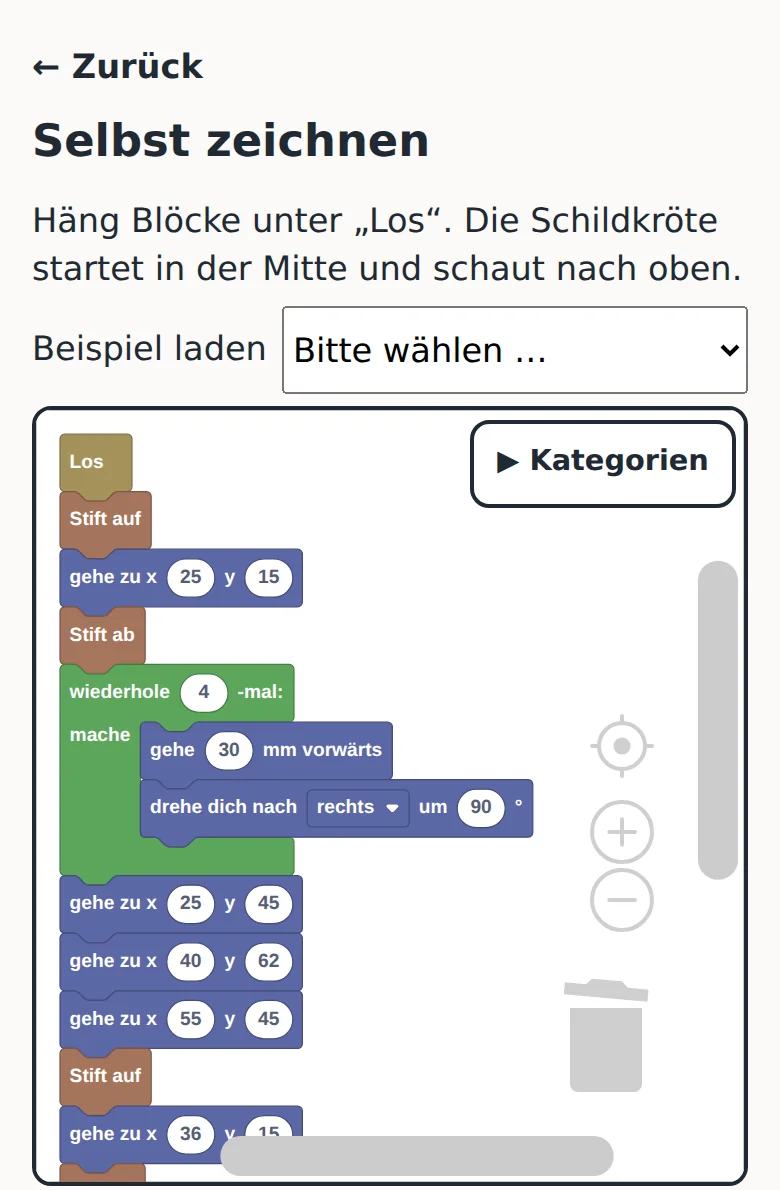
For makers: specs you can check the maths on
PlotBot is a five-bar SCARA: shoulders 36 mm apart, 65 mm upper arms, 90 mm forearms. The firmware does the kinematics itself. The pen tip lags slightly behind the holder, so the firmware overshoots each corner a little to keep it sharp.
An ESP32 runs the show. It sets up its own Wi-Fi hotspot with a captive portal, and firmware updates arrive over that same Wi-Fi.
Kinematics simulator: how accurately does a five-bar linkage draw?
Specifications for makers
| Controller | ESP32 (ELEGOO ESP-32, headers pre-soldered) |
|---|---|
| Drive | 2 × 28BYJ-48 with ULN2003 drivers, half-stepping |
| Pen lift | SG90 servo with an eccentric cam, gentle lowering |
| Mechanics | Five-bar linkage with ball bearings |
| Drawing area | 80 × 80 mm |
| Homing | 2 limit switches; calibration with a test sheet, values survive firmware updates |
| Printed parts | PLA, 0.4 mm nozzle, 0.2 mm layers, no supports; largest part 142 × 97 mm |
| Control | Its own Wi-Fi hotspot with captive portal, phone page, Blockly, over-the-air updates |
| Power | 5 V, 2 A or more over USB-C, power supply, not a computer |
Buy once, get three books
The book is part of the PlotBot-Kit. Once it's out, one purchase gets you all three editions as PDFs – plus every future update at no extra cost.
Build it yourself
For families and hobbyists: get and print the parts, flash the firmware, assemble, set up, draw.
Student edition
For kids on a course: the instructors have printed and prepared everything, the kids build and code.
Instructor edition
For schools, clubs and makerspaces: plan, print, let the kids build and run the course. Includes demo ideas and common misconceptions.
Also in the PlotBot-Kit
The print files (STL and 3MF), the ready-to-flash ESP32 firmware, its source code and the program that makes the QR sticker.
Frequently asked questions
Do I need a 3D printer?
Yes. You print PlotBot's parts yourself, in PLA and without supports, on a printer with a 220 × 220 mm bed. On a course, the instructors do the printing and the kids build and code.
What age is PlotBot for?
Kids aged about 12 and up, with an adult alongside. Loading the firmware from a computer the first time is a job for the adult.
Do I need to know how to solder?
No. The microcontroller board comes with its pin headers already soldered, and every wire plugs in.
Does the robot need an app or an internet connection?
Neither. PlotBot starts its own Wi-Fi network and serves its own control page, which opens in your phone's browser. You need a computer at most once, to load the firmware the first time.
Are the robot's pages in English?
No. The control page on the robot and its Blockly blocks are in German.
How big does it draw, and with what?
It draws within an 80 × 80 mm area on a sheet of A4. The pen holder is made for the edding 1340 brush pen.
What if something doesn't work?
The book has a troubleshooting chapter that goes through the typical faults: the control page doesn't open by itself, corners come out round, lines come out doubled. Every page the robot shows on your phone has a red stop button at the bottom – and if that ever fails to respond, pull the plug.
How do firmware updates get onto the robot?
Over its Wi-Fi, from your phone, with no computer and no cable. Your calibration and settings are kept. Only the first install needs a computer and a USB cable.
What happens to my email address?
We use it for one thing: to tell you when the book and the PlotBot-Kit come out. You're only on the list once you've clicked the link in the confirmation email, and every email has an unsubscribe link. The emails are sent through Brevo, a service based in France. The privacy policy has the details.
Coming soon: the book and the PlotBot-Kit
Leave your email address and we'll let you know when the book and the kit are available.